Something has gone very wrong
CO2 as a measure of air exchanges
Scanning flat positives
In trying to archive some prints I have before they inevitably yellow, I invested in a scanner and Silverfast Ai. They’re printed materials, so require descreening. It’s important to scan materials that need descreening at whole multiples of the native optical resolution. The best trade-off for mine ended up being 1280ppi.
Some of these prints are far larger than the scanner bed, so I scan them in multiple passes, with about 20% overlap. Then I use photoshop to stitch them together.
I discovered an unusual phenomenon in that the auto stitching mechanism sometimes had great difficulty getting a match, and when I attempted it manually it became apparent that the same sections, scanned multiple times, were different dimensions. So the overlap(s) were not perfect copies of one another.
I found literally ONE reference to this on the internet, so thought I’d place this information here in case that site ever goes down:
After digging into the issue further a few days ago, it seems to be related to CCD scanners specifically, as opposed to CIS scanners, due to the particular use of a lens to transfer the image data to the CCD sensor.
Related Links:
CCD or CIS (web – by the WideTEK scanner folks)
CIS vs. CCD (pdf brochure from Paradigm Imaging Group)So it appears that the best color capturing happens with CCD, but you also get lens distortion with that. I suppose if someone is mainly scanning documents, a CIS scanner may be the way to go (in actuality, probably just fine for photos, too).
Josh T. on forums.anandtech.com
The lens distortion is not uniform, nor symmetrical. The best option I’ve found is to use Photoshop’s Photomerge “auto”, which allows scaling, rotation and distortion (meant for photographs). I was really hoping to be able to pull off something approaching archival quality (I calibrated and profiled the scanner), but having to distort dimensions to successfully stitch is really disappointing.
I’m almost crazy enough to switch to the method of using a DSLR and macro lens, undoing lens distortion before stitching.
Almost…
Geekbench scores for slow-ass macs –
in case you were ever curious. Don’t get me wrong–these scores are pathetic, but that T9500 is an actually an upgrade.
MacBook Pro 3,1 (T7500) – 1354 – 2417
iMac 7,1 (T9500) – 1764 – 2967
iMac 11,1 (i5-750) – 1210 – 3411
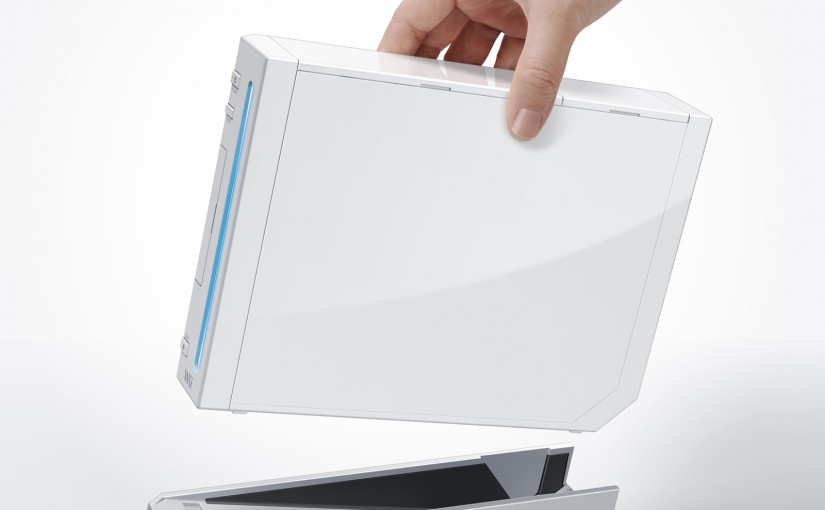
A return to modding the Wii…in 2019
After I finished my post about modding the Wii waaaaay back in 2015, I promptly put it on a shelf and never gave it another glance. Yeah, that’s how I roll.
Four years have passed and it seems I re-purposed my game HDD. I was itching to play me some Wii, but that would mean I’d have to hunt down my discs, which although ultimately taking less time than re-modding all my Wii (plural Wii is still Wii, right?), is not what I did.
So I had to re-learn the ropes, using the breadcrumbs I’d left myself back in 2015 as a starting point.
Essentially, in a nutshell–if your Wii is already modded, then find sysCheckHDE (I used 2.40), which is newer than sysCheckGX, which in turn is newer than sysCheck. Plus it also works on WiiUs (clearly this plural gets an ‘s’, amiright?) Run that on your Wii and take the .csv it creates and drop that onto ModMii. ModMii will tell you what you need to do to update, and if necessary, un-screw your system. It downloads everything needed and even creates an .html instruction book for you. Amazing stuff.
I also learned that being on system 4.1 is fine, as 4.3 (final) is essentially 4.1 with added anti-modding measures added.
Your HDD should be formatted as FAT32, preferably 32k clusters, and set as the active partition. You can download EaseUS Partition Manager and dodge their bundled software to accomplish this (I got all fancy and tried CLI diskpart first, but clearly I mucked that up as it didn’t work)
Use Wii Backup Manager to transfer your games to your HDD. You can use Configurable USB Loader (78.11) to act as a front-end for both Wii and Gamecube games–the later calling upon Nintendont to do the heavy lifting. I couldn’t find a bundled Nintendont, and had to hunt down and rename a few files to get that one up and running.
Only took me a few hours and that 5 minutes of Ikaruga was so worth it. Now the Wii go back on their shelf.
Things to keep an eye on…
Time heals all bugs

Y U NO WERK
You can learn a lot about audio reproduction by being perpetually disappointed.
Home Routing 2017
Having previously explored a full UTM, pfSense, DD-WRT and Tomato, I’m revisiting EdgeOS.
macOS updates for old machines
End of the road for Mac Pro 1,1/2,1