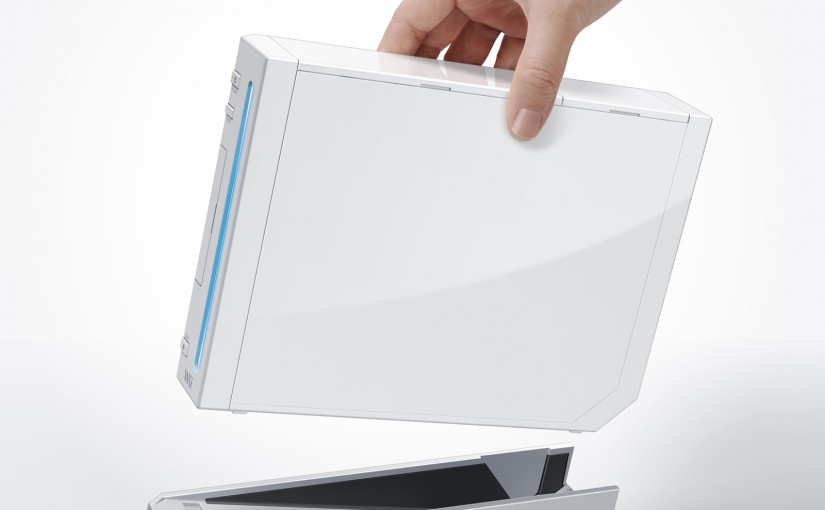
I recently picked up a second Wii to mess around with. I’ve owned a Wii since launch and modded it shortly thereafter, but that was a long time ago and I have no recollection of what I did nor how I did it.
I’d rather not mess with a ticking time bomb, so I elected to start fresh with a brand new (to me) sacrificial console. Why not, right?
The History
The original Wii was a console I was not terribly fond of. I’ve always found its rudimentary motion controls to be more of a nuisance than an immersive experience. Its component output is inferior to that of its predecessor1, it was limited to standard definition video while its competitors jumped to high definition and its sound was only output over analog stereo leads (and in need of attenuation at that). It could never be described as a video or audiophile’s dream. In addition, it popularized the idea of re-buying all your previous console games digitally via its Virtual Console (VC) function, and prices were typically steep for what essentially amounted to ROM dumps. Quality Wii titles rarely went on sale, and the system featured one of the worst ratios of good games to shovelware in recent memory.
The wand’s accuracy left so much to be desired they had to release an add-on in the form of MotionPlus that actually delivered on their earlier promises. The add-on made it difficult for children to hold the controller horizontally, and my nephew was continually asking me to remove it. Eventually they released a version with the add-on integrated directly into the controller’s original form factor.
One of the system’s positives–it’s full backward compatibility with the GameCube was later dropped from successive models. A final cost-cutting abomination came in the form of the Wii Mini, which also removed component output and the ability to connect to the internet. What a bargain!
But the Wii does possess a few tricks that make it worthy of consideration. The Wii is capable of outputting a 240p signal via component, an ability which the Wii U’s virtual Wii (vWii) lost. This allows “retro” games of the 8bit and 16bit eras to be displayed in their native resolutions, assuming the software is programmed to do so.
Initially a number of VC titles ran in 240p (with the console set to display 480i), but this was later changed due to consumer feedback regarding an incompatibility with many modern LCDs when fed such a signal.
What is a Wii good for in 2015?
- using Retroarch* to play 8bit and 16bit titles in their native resolution on a CRT
- using USB loader GX to play Wii games off a USB HDD
- using Nintendont to play GameCube and Triforce games off a USB HDD or SD Card, allowing many games to run in true widescreen and progressive scan.
What You Will Need
- Compatible Wii (models RVL-001 and RVL-101)
- 2GB or smaller SD card (not SDHC), formatted as FAT32
- PC with a SD card reader and internet access
Optionally
- A large SDHC card to store games, emulated NAND, homebrew software, etc. Format as FAT32, cluster size 32k for better GameCube performance. (Something like EaseUS can be used to format 32k clusters)
- A Wii U Pro Controller. Supported by Nintendont and other homebrew software
The Goal(s)
- Install the Homebrew Channel.
- Install BootMiiso we can back up our system NAND before going any further.
BootMii is a set of software that can be installed on Nintendo Wii© consoles to provide added functionality, safety and convenience.
- Install Priiloaderto block unintentionally updating and bricking our system.
Priiloader is a modded version of Preloader. Just like Preloader, Priiloader places itself in boot sequence before the system menu. It can patch memory, protect against bricks or boot something other than the system menu on power up.
- Install a modern d2x cIOS for the software that requires it.
From that point forward, any homebrew you wish to install should function, and you will have taken steps to prevent bricking your system if you mess up.
Quick and Dirty Steps
Configure your Wii’s internet connection so that it is functional, but decline the prompt to update your system. This step will prevent the Homebrew Channel (HBC) from timing out during certain software installations. Make note of your current firmware version. Disable WiiConnect24.
Install and Run ModMii on your PCOn your PC, download ModMii, run it and follow the instructions provided by the wizard, answering its questions as you go. It will create a folder of files to transfer to your SD card, and generate a customized .html file with detailed instructions for you to follow.
I wish it were this easy when I modded my original Wii!
If you are using the Smashstack method, you may have to delete the folders for other regions that ModMii creates in private/wii/app that aren’t rsbe (mine stalled out until I did this).
Follow the ModMii .html instructions, and when you are done all you have left is to install d2x.
I used d2x-v10-beta52 because it is said d2x-v10-beta53-alt doesn’t work yet with SD cards, but that notation might only pertain to the vWii and not a Wii proper. It wasn’t clear to me.
I used ModMii to download
IOS56-64-v5662.wad
IOS57-64-v5919.wad
IOS58-64-v6176.wad
and put them on the root of my SD card. Followed the instructions posted above and USB Loader GX found my USB drive and games.
*although it seems like it holds a lot of promise, as of version 1.0.0.2 a number of features don’t actually work as intended. These include saving core resolutions, customizing controller layouts and Wii U Pro Controller support. Check the new nightlies for new features. Discussion is here.
